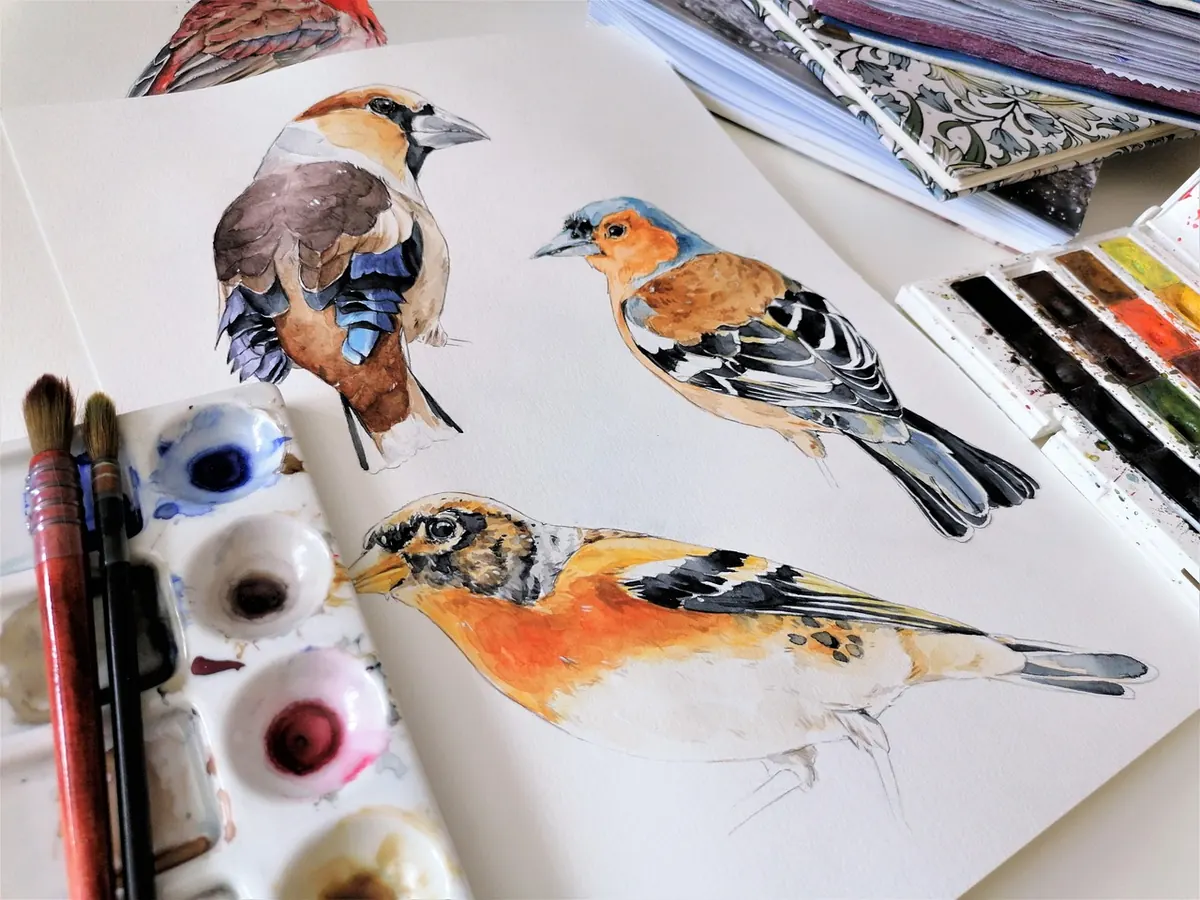
A falcon on the easel can look almost right and still feel wrong. Usually the fault is not your brushwork but a handful of repeating errors: feathers travelling against their natural flow, an eye sitting too low or too round on the skull, and browns that have gone to mud. None of these are difficult to put right once you can name them. Here are the mistakes that show up most often in raptor painting, and the fix for each.
Every feather grows from a follicle and lies flat against the body. The tips overlap in one direction, like roof slates, and that direction changes across the bird. On the head, small feathers sweep back from the beak towards the nape. Down the breast they run downwards and outwards from the centre line. On the upper wing the coverts lie back and out towards the wingtip, while the primaries and secondaries trail behind. Paint those tips pointing the other way and the bird turns spiky and unconvincing, however accurate the colour.
Soft brushes everywhere give you a bird made of smoke. Raptors are structured. There are places where a lost edge is exactly right — the soft transition from breast to belly, or where a shadowed wing crosses the body — and places where a crisp edge does the work: the line between coverts and primaries, the shoulder of the wing, the beak against the chest.
A useful exercise is to paint one study with flats and a rigger, keeping every edge hard, then a second using soft edges only. Somewhere between the two sits the painting you want. As a rule, keep hard edges on the outer silhouette and where the main feather groups meet, and soften edges inside the shadows.
The eye carries the expression, so it is the first thing a viewer checks and the first place small errors show. Three faults appear again and again: the eye is perfectly round when it should be slightly almond-shaped, it sits too low or too far forward on the skull, and the brow is missing altogether.
Most raptors have a bony ridge above the eye, the supraorbital ridge, which overhangs and creates that heavy-browed look. Without it, a golden eagle reads as gentle. Sketch the skull before you paint the eye, line the eye up so the gape of the beak roughly points towards it, and let the brow overlap the top of the eye. Keep the pupil central and generous — but it is the iris, the coloured ring around it, where the life lives.
Plumage is where colour mixing gets tested, and the usual failure is stirring too many pigments together until you arrive at an even, greyish brown belonging to no bird in particular.
Two habits help. Mix in twos: an earth yellow with an earth red, or a warm brown with a touch of blue, gives more life than a heap of colours combined. And avoid white for lightening; add a lighter, warmer or cooler version of the same colour instead. White dulls and cools, and it is the quickest route to chalky feathers.
Greys are just as easy to kill. A grey made only from black and white has no temperature and no relationship to the rest of the bird. Mix a brown with a blue, or an earth with a violet, and let the grey lean warm in the lit areas and cool in the shadow. Look closely at real plumage before deciding: much of what reads as grey is a desaturated blue or brown with plenty of variation across it. A peregrine's back, a hen harrier's wing and a kestrel's mantle each have their own colour logic, and a single flat tone flattens all three.
Painting from a flat, flash-lit photograph is a common trap. With light coming straight from the camera the bird has no clear shadow side, so the form sits flat and the painting does too. Choose a light direction and commit to it: a three-quarter light from above and slightly behind gives a bright upper surface, a shadowed underwing and cast shadows beneath the beak and chest. Squint at the work, or photograph it and convert it to greyscale. If the values do not separate — dark eye, mid-tone head, light breast — the bird will not turn in space, however careful the feather work.
Proportion errors creep in when we work from a single photograph. A folded wing may look too long, the tail too short, the head too small. Measure rather than guess: compare head length with body, and check where the folded wingtips fall. In some species they reach close to the tail tip; in others they stop well short, and getting that wrong can turn one species into another at a glance. Work from several photographs of the same bird in different light, and sketch the bill shape, chest depth and toe length in line before you pick up a brush.
A routine that catches most of these errors before they harden: draw the skull, eye and beak carefully; mark your feather direction arrows; block in the big masses with hard edges; add the shadow side and cast shadows; then paint feathers in groups, saving detail for the eye, the brow, the beak and the primaries. Step back, convert to greyscale, and check that the eye is neither floating nor misplaced.
Finally, resist the urge to keep going. Raptor paintings rarely fail from too little detail; they fail from too much of it in the wrong places. A confident, correctly directed brushstroke beats twenty hesitant ones every time.
Photo: Mart_pictures / Pixabay
Turn recycled paper, flour paste and patience into a lightweight owl sculpture. A step-by-step beginner's guide to...
Bind a handmade falconry journal with raptor motifs and printed record pages — a weekend project that turns a...

Where to sketch live birds of prey in the UK, from red kite feeding hides to falconry displays, plus field technique...

Handcrafted art inspired by birds of prey.
