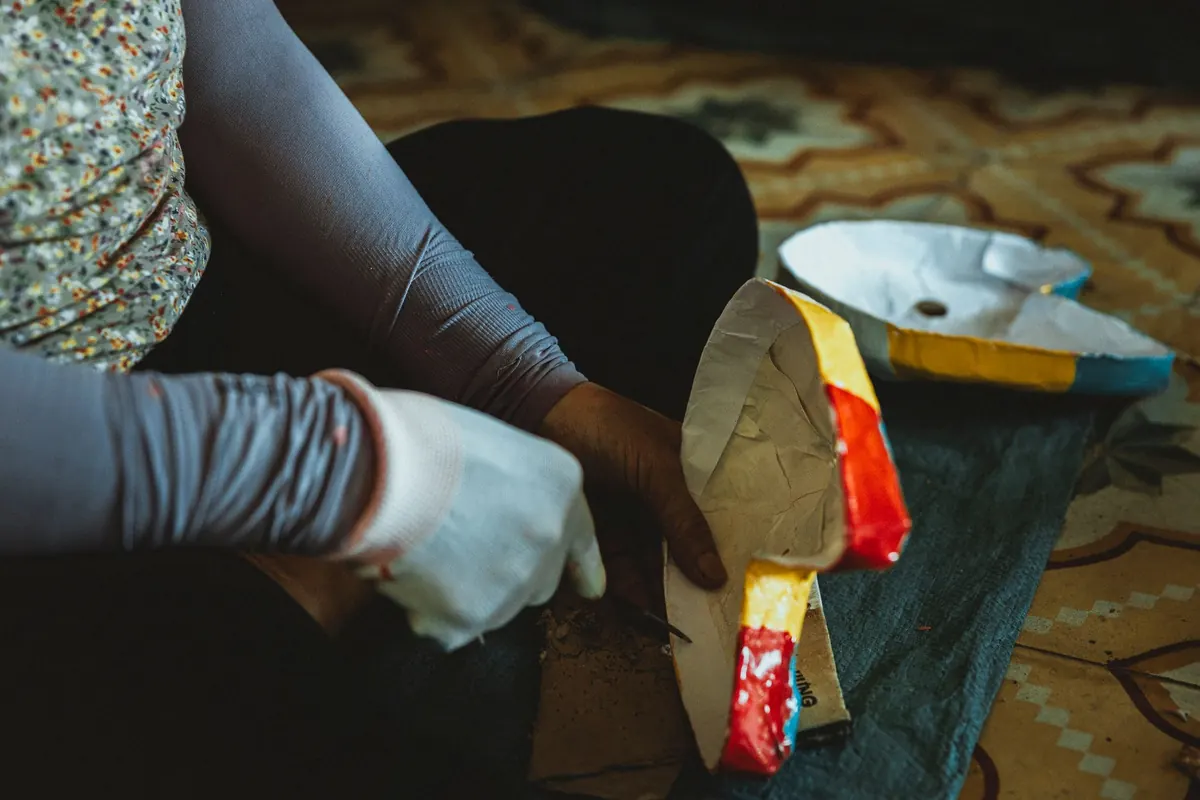
Papier-mâché is the most forgiving material in the craft room. It starts as torn newspaper and a bowl of paste, it can be built up, sanded back and painted over, and once dry it holds a shape light enough to hang on a wall. An owl makes a particularly good first project: the body is a rounded egg, the head is a ball, and there is no awkward neck to engineer.
You can follow this method with a bought kit or with a bag of household recycling. Either way, set aside a weekend with drying time in between, and you will finish with a sculpture roughly 20–25cm tall that looks as though it belongs on a shelf rather than in the bin.
If you are working from a kit, read its instructions first and treat the list below as a supplement rather than a replacement, because armatures and materials vary between makers. Starting from scratch, gather:
Every good papier-mâché bird is really a good armature wearing a paper coat. Inflate the large balloon to an oval shape and tape it down so it cannot roll. Inflate the small balloon to about two-thirds of that width and tape it directly on top, tilted forward a few degrees. Owls have almost no neck, so the head should sit low and close, not perched on a stalk.
Roll a small circle of card into a cone for the beak and tape it to the face, pointing slightly downward. For wings, either tape two long triangles of card along the sides, or leave them off and build them up later with extra paper layers; the card version gives a sharper edge, the paper version is softer and more forgiving.
Decide now how the owl will sit. For a standing bird, tape two short dowel stubs to the underside and wrap them with paper later as legs and talons. For a shelf piece, keep the base flat and wide enough to be stable. If you would rather hang it, tape a loop of wire to the back of the armature so it becomes buried under the paper layers.
Keep the whole armature a little smaller than your finished goal, because five to seven paper layers will add several millimetres in every direction.
You have two good options. A cooked flour paste is cheap, easy to sand and traditional: whisk one part plain flour into two parts cold water until completely smooth, then pour that slurry into two parts of just-boiled water, stirring constantly. Return it to a low heat and stir until it thickens to the consistency of thin custard. Let it cool. A splash of white vinegar or a few drops of clove oil helps it keep; stored covered in the fridge, it lasts a few days.
PVA paste is simply one part white glue to three parts water, stirred until it looks like milk. It gives a tougher, more water-resistant shell, but it dries harder and is less pleasant to sand. Many makers use PVA for the inner layers and flour paste for the outer ones.
Once the shell is firm, puncture the balloons through a small gap at the base and let them deflate where they sit. A flat balloon inside does no harm and is far easier than trying to extract it.
Airflow matters far more than heat. A spare room with a window cracked open beats a sealed cupboard every time. Turn the owl a few times during the first day so the base does not sit in a damp patch, and give the piece a full week before you even think about paint. Sealing moisture inside with acrylics is the single most common reason a finished piece bubbles or grows mould weeks later.
Work from photographs of British species. A barn owl is creamy white with a heart-shaped facial disc and soft grey-gold wings; a tawny owl is rich brown with darker streaks; a little owl is compact and speckled. Pick one and stay faithful to it rather than mixing ideas.
Give the whole sculpture two thin coats of a pale base colour and let each dry. Then build up feather markings with a flat brush and slightly thinned paint, using short strokes that follow the direction the feathers would grow, from the head downward and outward from the face. Keep to four or five tones. Paint the facial disc paler than the back, then ring it with a darker outline. For the eyes, paint the iris, add a black pupil slightly off-centre, and finish with one tiny white highlight near the top. That single dot is what makes the bird look alive. A horn-coloured beak with a darker tip completes it.
Finish with two thin coats of matte varnish, allowing several hours between them.
Cut a piece of felt or cork to fit the base and glue it on, which protects shelves and hides the join. If you want the owl to perch, drill a hole in a length of weathered branch, set the dowel leg stubs inside and secure with a little adhesive, then weight the branch so it cannot topple. Write your name and the date on the underside in pencil or paint, as you would with any piece worth keeping.
Display it away from direct sunlight and away from radiators, which dry and crack the shell over time. Dust with a soft brush rather than a damp cloth. Do keep in mind that acrylic paints, varnishes and flour paste are not food-safe, so follow the manufacturer's guidance on ventilation while working and keep the finished owl out of reach of pets and small children who might chew it. Treated with a little care, your first owl will outlast the newspaper it was built from by a very long way.
Photo: HONG SON / Pexels
Bind a handmade falconry journal with raptor motifs and printed record pages — a weekend project that turns a...

Where to sketch live birds of prey in the UK, from red kite feeding hides to falconry displays, plus field technique...
Turn a charity-shop wool jumper into a felted buzzard cushion: shrink the knit, cut a convincing silhouette, then...

Handcrafted art inspired by birds of prey.
