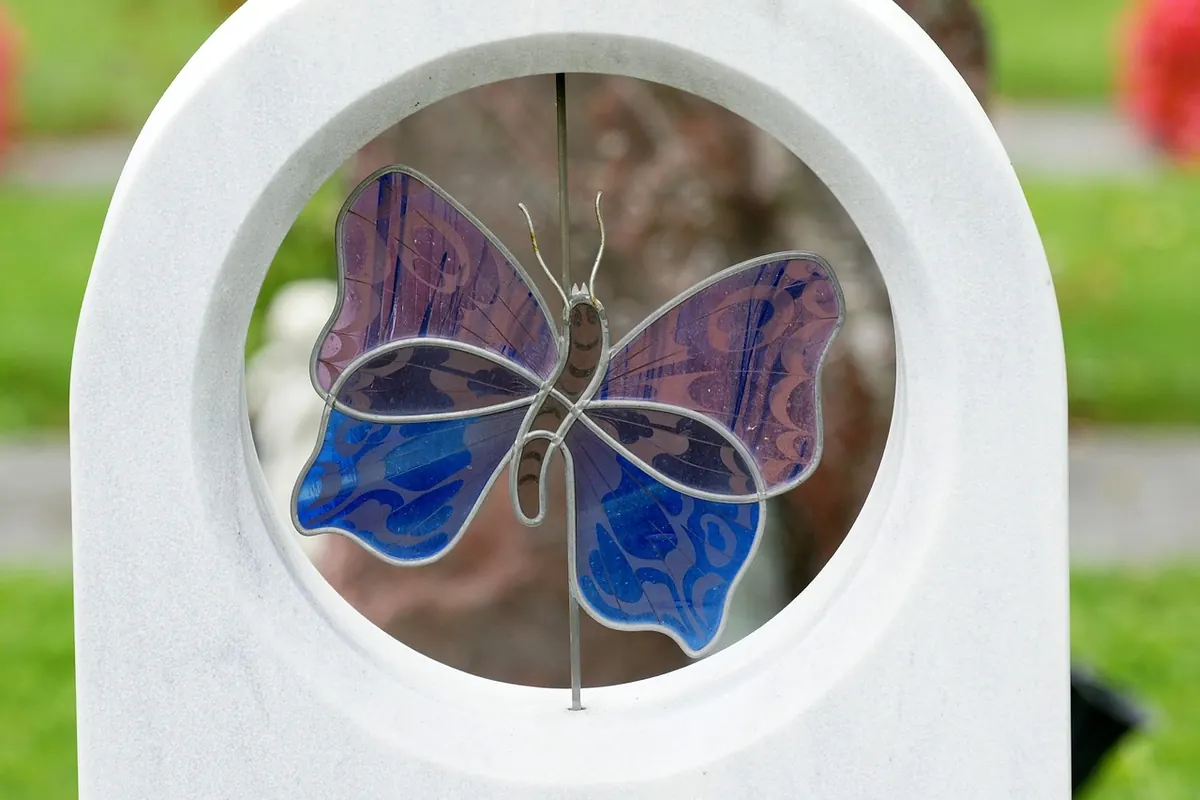
A red kite over a bright window, wings tilted and that forked tail trailing behind, is one of the best sights in a British garden. You cannot tempt one onto a windowsill, but you can paint one there. Faux stained glass swaps glass for clear acrylic and lead came for paint, which means no kiln, no soldering and no expensive disasters. If a colour goes wrong, wipe it off and begin again.
This is a slow-afternoon project. The painting takes an hour or two. The lead lines want a full day to dry before the piece goes anywhere near a window.
Keep the protective film on the acrylic while you sketch. It gives you a surface you can mark freely, and it protects the sheet from stray thumbprints and brush slips. Peel it off only when you are ready to paint.
Work from a photograph you have taken yourself, or from a field guide. The details that make a red kite instantly readable are the long, slightly angled wings, the shallow V of the body and the deep fork in the tail. The head is pale grey, the body and wing coverts are warm russet, there are creamy-white patches under the wings, and the outer primaries are near-black with pale fingered tips.
Sketch the bird at full size on tracing paper, then tape the paper to the back of the acrylic so you can follow it through the sheet. Decide early whether you want a rectangle panel or a cut-out silhouette. A cut-out kite looks superb in a window, but it means sawing acrylic with a fine-tooth blade at low speed, supporting both sides of the cut so the sheet does not crack. If this is your first attempt, keep the rectangle and let the painting do the work.
Glass paint is see-through, so you build depth with layers rather than one thick coat. Start with the palest areas: the grey head and the creamy underwing patches. Let them dry. Then add the russet body and inner wing, working in thin washes and letting each one dry before the next touches it. Red creeping into cream is the most common beginner's mistake, and drying time is the only real cure.
For the dark primaries, use a near-black mixed with a little brown rather than pure black, which can look flat against daylight. A stippled brush gives a decent suggestion of feather texture along the wing coverts. If an area becomes too heavy, dampen a cloth and wipe back gently while the paint is still wet; the acrylic underneath will not mind. Some makers prefer to paint on the reverse of the sheet so the front stays glossy. That works well, but remember the bird will be mirrored, so flip your template.
The lines are what turn a painted bird into something that reads as stained glass. Practise on a scrap of acrylic first. Squeeze the outliner onto the scrap, get a feel for how much pressure produces a 2 mm line, and only then move to the real piece.
Outline the body, wings and tail fork first, then the head, the eye and the tail notch. Add a handful of internal lines for the primaries and the tail feathers, and resist adding more. Real leaded panels look calm because the lines are evenly spaced and not crowding each other. Leave the piece flat to dry, somewhere dust-free, for at least twelve hours. If a line goes badly wrong, wait until it is fully dry, then lift it off with a fingernail and try again.
Drill a 4 mm hole about 15 mm in from the top edge, on the centre line of the bird's balance point. Masking tape over the spot stops the bit wandering, and a slow speed with light pressure keeps acrylic from cracking. If drilling makes you nervous, a clip-on suction cup with a hook does the job just as well, and it lets you move the suncatcher around the house.
Thread fishing line, waxed cord or fine craft wire through the hole and knot it securely, leaving a loop about 10 cm long. Hang the piece by the loop and check it sits level. If it tilts, a small bead slid along the cord as a counterweight usually fixes it.
South or west-facing windows give the strongest backlight, which is when the transparent colours and the dark lead lines look their best. Keep the suncatcher away from radiators and other hot surfaces; acrylic softens at temperatures well above anything a window reaches, but a radiator or a sunny car dashboard can distort a thin sheet over time.
Clean it with lukewarm water and a drop of washing-up liquid, using a soft cloth. Avoid solvents, spirits and anything abrasive, which will cloud the surface and lift the paint. Dry it gently rather than leaving it to drip.
Once the first kite is up, the technique transfers easily. A kestrel hovering, a buzzard on a post, a barn owl in low light — all rely on the same three moves: transparent colour laid in thin layers, confident lead lines, and a good window. Write your initials and the date in fine permanent marker on the bottom corner of the back. In a few years you will be glad you did.
Photo: fotoerich / Pixabay
Turn recycled paper, flour paste and patience into a lightweight owl sculpture. A step-by-step beginner's guide to...
Bind a handmade falconry journal with raptor motifs and printed record pages — a weekend project that turns a...

Where to sketch live birds of prey in the UK, from red kite feeding hides to falconry displays, plus field technique...

Handcrafted art inspired by birds of prey.
