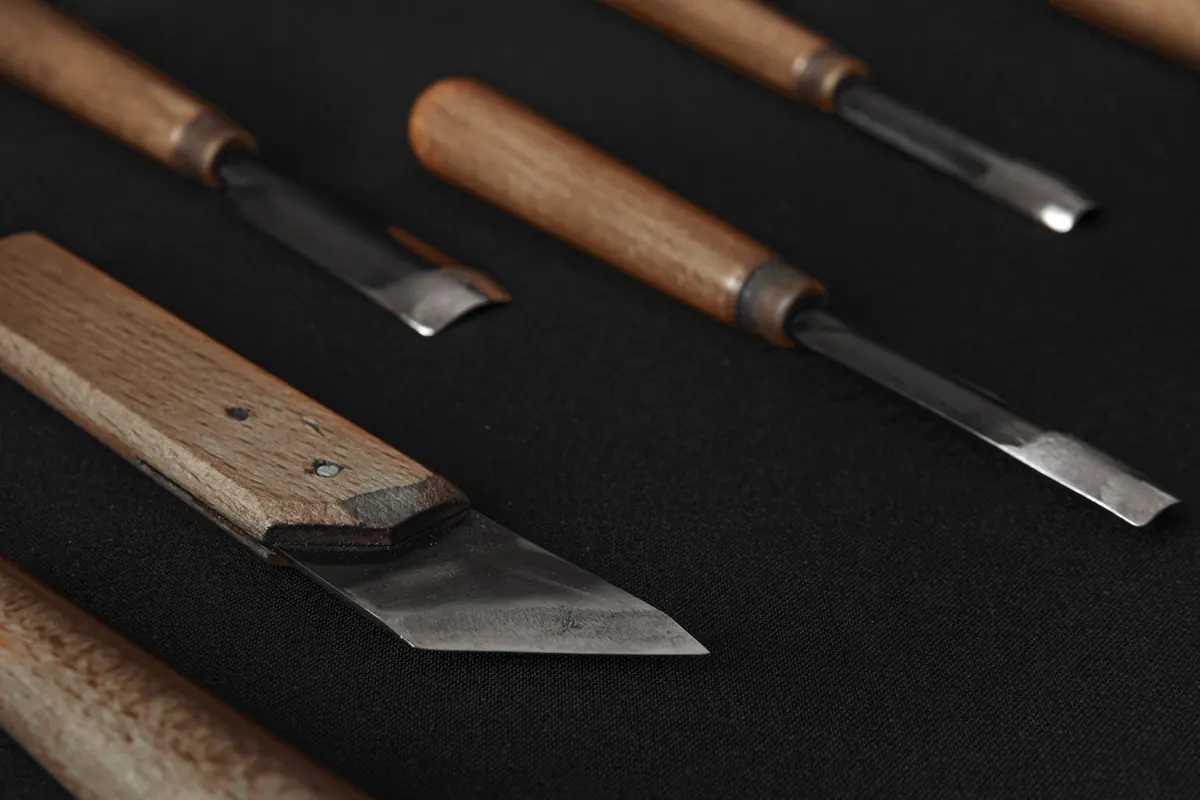
A kestrel makes an ideal first raptor carving. It is small, compact and forgiving: there is no long, fragile tail to snap off, and its folded-wing outline reads clearly even when your knife work is still finding its feet. More importantly, the kestrel's shape teaches you the fundamentals every bird carver needs — a rounded head, a tucked shoulder, a tapering body and the sense of alert stillness that makes a bird of prey look alive rather than stuffed.
You will not produce a museum piece on your first attempt. Nobody does. What you can produce, over a few evenings at the bench, is a small, solid carving you are genuinely pleased to put on the shelf. Here is how to get there without cutting yourself or losing heart.
Woodcarving injuries almost always come from three things: a dull edge, a workpiece that moves, and a hand placed in the path of the cut. Fix all three before you make a single pass.
Keep your tools sharp. A sharp tool bites and stops where you tell it to; a dull one skids. If you are new to sharpening, buy a strop and some honing compound and get into the habit of ten strokes every twenty minutes of carving. It takes less time than you think and transforms how the wood feels.
Hold the bird, not the tool, wherever you can. A bench hook, a carver's screw or even a strip of non-slip router mat under your workpiece will stop it shifting. Never carve towards a hand that is holding the piece steady.
A sensible approach to cutting:
Work in good light, preferably daylight from a window or a lamp you can move. You will see the surface far better than under a dim ceiling bulb, and mistakes are cheaper to correct early.
Lime — often sold as basswood in North American catalogues — is the beginner's friend for good reasons. It is soft enough to cut with hand tools but firm enough to hold fine detail. Its grain is straight and even, so it does not grab the blade or tear out along the edges. It also takes paint beautifully, with none of the resin that makes pine blotchy.
Look for a piece roughly 100mm by 60mm by 50mm for a life-sized kestrel, or a little larger if you want to work comfortably. Kiln-dried is fine, but avoid anything with visible knots, splits or a green tinge. Run your thumbnail across the end grain: if it marks easily, it will carve well.
If lime is hard to find, jelutong behaves similarly, though it is dustier. Avoid oak, ash and anything you would use for furniture. Life is too short to learn on hardwood.
Draw your profile on both sides of the block — the side view on one face, the top view on the adjacent face. Keep them lined up. This two-view approach is the single most useful habit in bird carving, because it stops you drifting out of proportion.
Rough out with a saw first, then a coarse gouge or a bench knife. Work the silhouette before anything else: the back curve, the chest bulge, the slight taper towards the tail. Round off the corners with paring cuts rather than trying to sculpt detail. At this stage the bird should look like a smooth, egg-shaped form with a head.
Mark the eye line early. On a kestrel, the eye sits high and slightly forward, and getting it in the wrong place will make the finished bird look wrong no matter how good the feathers are. A pencil dot on each side, checked from above and in front, saves a lot of regret later.
The folded wing is where a kestrel carving starts to look like a kestrel. A perched bird tucks its wings into a long, pointed shape that runs from the shoulder down towards the tail tip. In side view, the wing tip sits just above and behind the tail. Get that line right and the rest follows.
Approach it in layers:
Resist the urge to carve individual feathers this early. Suggested feather groups — a few gentle grooves along the wing coverts — read better than twenty fussy lines. A common mistake is over-detailing a small carving, which makes it look busy rather than sharp.
Sanding is not the enemy of carving, whatever some carvers will tell you. Work through grades from about 180 up to 400, using a sanding block or a folded strip to keep the edges crisp. Between grades, wipe the dust off and look at the piece in raking light. That is where you will spot the flats and the little ridges left by the knife.
For the legs — thin dowel or stout brass wire set into drilled holes — fit them before painting so you can adjust the stance. A kestrel perched on a post usually has one leg straighter than the other. Slight asymmetry looks far more natural than a perfectly symmetrical bird.
Seal the bare wood with a thin coat of sanding sealer or a diluted matt acrylic medium, then sand lightly once more. This stops the paint soaking in unevenly.
Work from light to dark. Give the whole bird a base coat of warm buff or pale sandy grey, then build up the markings. A male kestrel has a grey head and tail with a rufous back and wings; the female is browner overall with heavy barring on the back. The chest of both is a soft buff with darker streaks or spots.
Use thin washes rather than thick paint. Two or three translucent layers give depth that one opaque coat never will. For the spotted chest, load a fine brush and touch the paint on rather than dragging it. For the eye, paint a dark ring with a black pupil and leave the tiniest highlight of pale grey at the top — that single dot is what brings the bird to life.
Finish with a coat of matt varnish. Satin looks wrong on feathers and gloss looks like plastic.
Put the finished kestrel somewhere you will see it daily. In a week you will notice things you want to change — and that noticing is the real progress. Your second bird will have better proportions because your eye has improved, not just your hands. Keep the first one. Carvers who have been working for twenty years still have their early pieces, and they are usually the ones they talk about most fondly.
Photo: Dmitry Demidov / Pexels
Turn recycled paper, flour paste and patience into a lightweight owl sculpture. A step-by-step beginner's guide to...

Bind a handmade falconry journal with raptor motifs and printed record pages — a weekend project that turns a...

Where to sketch live birds of prey in the UK, from red kite feeding hides to falconry displays, plus field technique...

Handcrafted art inspired by birds of prey.
