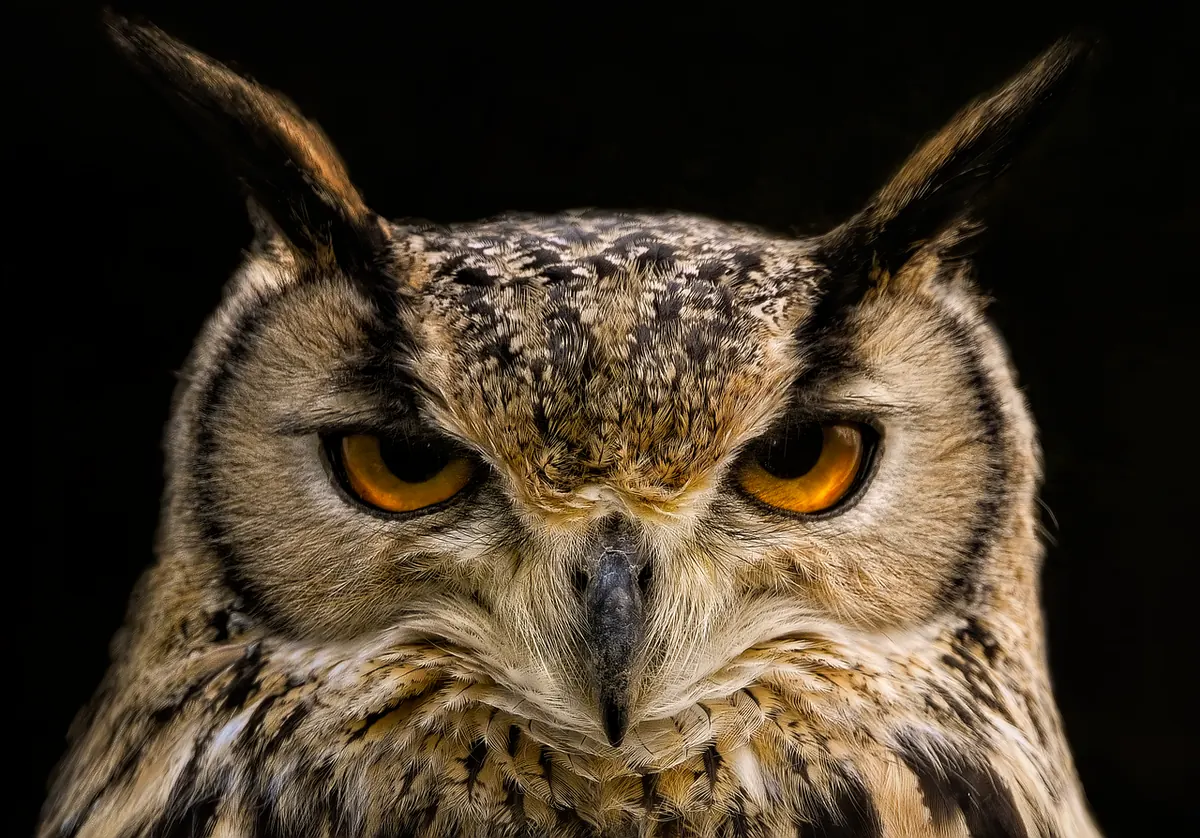
Needle-felting a barn owl is one of the most rewarding projects in raptor craft. The bird gives you a big, clear silhouette — rounded head, heart-shaped face, long soft wings — and a restrained palette of cream, buff and grey that is easy to blend. It also forgives small mistakes, because a barn owl's plumage is soft and blurred rather than crisp. Work patiently, keep your needle straight, and you will end up with something worth mounting on a branch.
Gather everything before you start, so you are not hunting for a needle with a half-felted owl in your lap.
Needles are sharp and snap easily if you bend them. Keep your fingers out of the needle's path and always work over the pad.
You do not need a complicated skeleton. A perched barn owl needs two legs and a body loop, nothing more. Cut two lengths of wire about 40cm long, twist them together at the centre to form a body loop roughly 8cm long, then bend the four loose ends down and out into two legs, finishing each with a small loop for the feet.
Keep the armature narrower than you think it should be. Wool adds two to three centimetres on every side, so a small frame gives you a rounded bird rather than a bulky one. Wrap a little core wool around the wire and tack it down with a few stabs so the metal never shows through.
Tear wool from your batt rather than cutting it — torn edges felt together far more easily. Roll a loose handful into a sausage, lay it over the body loop and start stabbing with the 36 needle, turning the work as you go. Work all over rather than in one spot, or you will felt a dent into the shape.
A barn owl's head merges into its body with no visible neck, so build the core as one continuous form: a plump egg for the body, narrowing slightly at the shoulders, with a ball for the head. The head should be roughly a third of the total length.
Stop when the surface springs back under your thumb and feels like a firm cushion. At that point, switch to the 38 needle and refine the profile. If the owl feels spongy, add more wool and carry on.
The heart-shaped face is what makes a barn owl recognisable, and it is easier than it looks. Felt a flat disc of cream wool on your mat, wide at the top and tapering to a point at the chin. Lift it off and needle it onto the front of the head, working around the edges until the join disappears.
Now set the disc into a shallow dish. Stab gently in the centre of the face, where the beak will sit, to sink it a little, then build a low rim around the outer edge with fine needlework. That rim is where the feathers curve forward, and it casts the soft shadow that gives the face its depth. Check the owl from the front, from above and from the side — a disc that reads well from one angle can look lopsided from another.
A barn owl is not one colour. Its back and crown mix pale golden-buff with soft grey, its face and underparts are white to cream, and its upper parts carry fine dark speckles. Pull thin strips of two or three colours, lay them side by side, tease them together with your fingers and needle them lightly on the mat until they blend.
Over-blending turns everything a flat beige, which is the quickest way to make a felted bird look like a toy. Keep your colours slightly streaky instead. Lay a base of buff over the back, needle pale grey across the top in loose strokes, and save the white for the face and belly. For speckling, roll tiny pinches of dark wool between your fingers and felt them on one at a time, following the direction the feathers lie. A few well-placed flecks look far better than a scatter of dots.
Felt the wings as flat sheets rather than shaping them on the body. Spread a thin layer of blended wool on the pad, needle it until it holds together as a soft fabric, then shape a long rounded wing with the needle and sharp scissors. Add rows of small triangular tufts along the trailing edge to suggest overlapping feathers.
Position the wings along the back so they are folded, reaching close to the tail tip, and needle them down along the shoulder line. Hide the joins under a few loose tufts. The tail is short and slightly squared, buff with faint barring. The wings carry the silhouette, so take your time; a tidy shoulder line reads as skill.
Trim stray fibres with sharp scissors, then go over the whole bird with a 40 or 42 needle held at a shallow angle to smooth the surface. That final pass is what makes felted wool look like feathers rather than fluff.
Set the eyes deep rather than proud, and check that they face forward; barn owls have dark, forward-set eyes that give the face its intent look. Mount your owl on driftwood or a simple wooden base, pressing the feet loops into place. Keep it out of direct sunlight and dust it occasionally with a soft brush. If this is your first bird, make a practice head first — an hour spent on a 10cm ball will teach you more about density and shaping than any amount of reading.
Photo: ambquinn / Pixabay
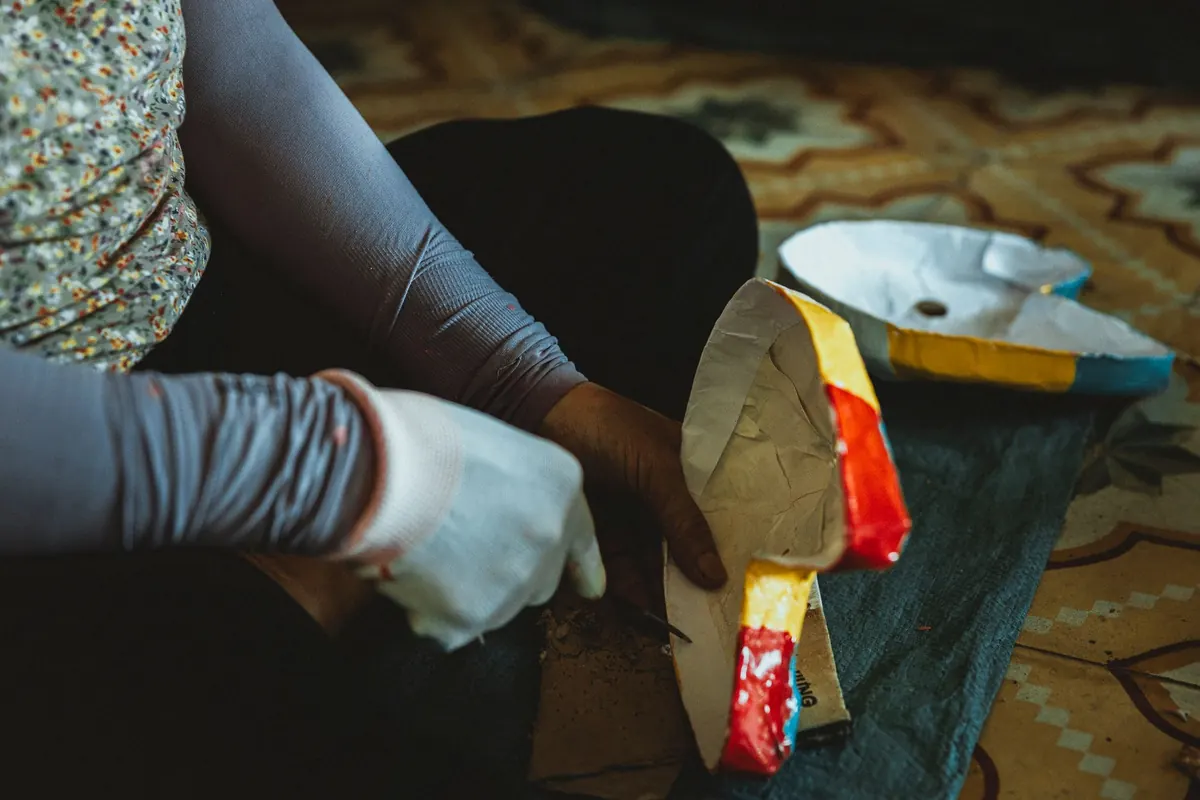
Turn recycled paper, flour paste and patience into a lightweight owl sculpture. A step-by-step beginner's guide to...
Bind a handmade falconry journal with raptor motifs and printed record pages — a weekend project that turns a...

Where to sketch live birds of prey in the UK, from red kite feeding hides to falconry displays, plus field technique...
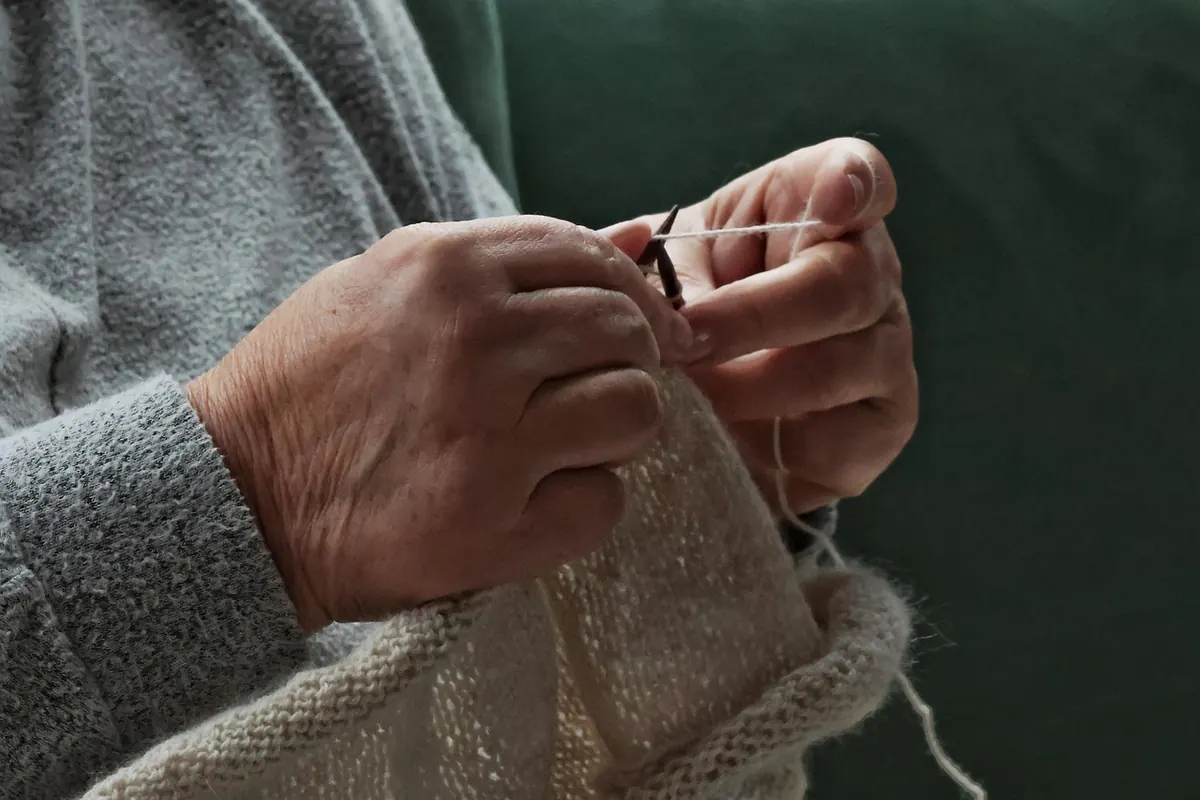

Handcrafted art inspired by birds of prey.
